
Garage door opener installation: A step-by-step guide for homeowners
Learn everything you need to know about garage door opener installation, from choosing the right model to setup, safety tips, and maintenance advice.
Installing a garage door opener is one of those minor upgrades that make a significant difference in the home. It might not seem like a big deal at first, but it adds comfort, saves time, and improves security.
If you’re considering a garage door opener installation, this guide will walk you through what to expect, what you’ll need, and how to get it done right, whether you’re doing it yourself or calling in a pro.
Why install a garage door opener?
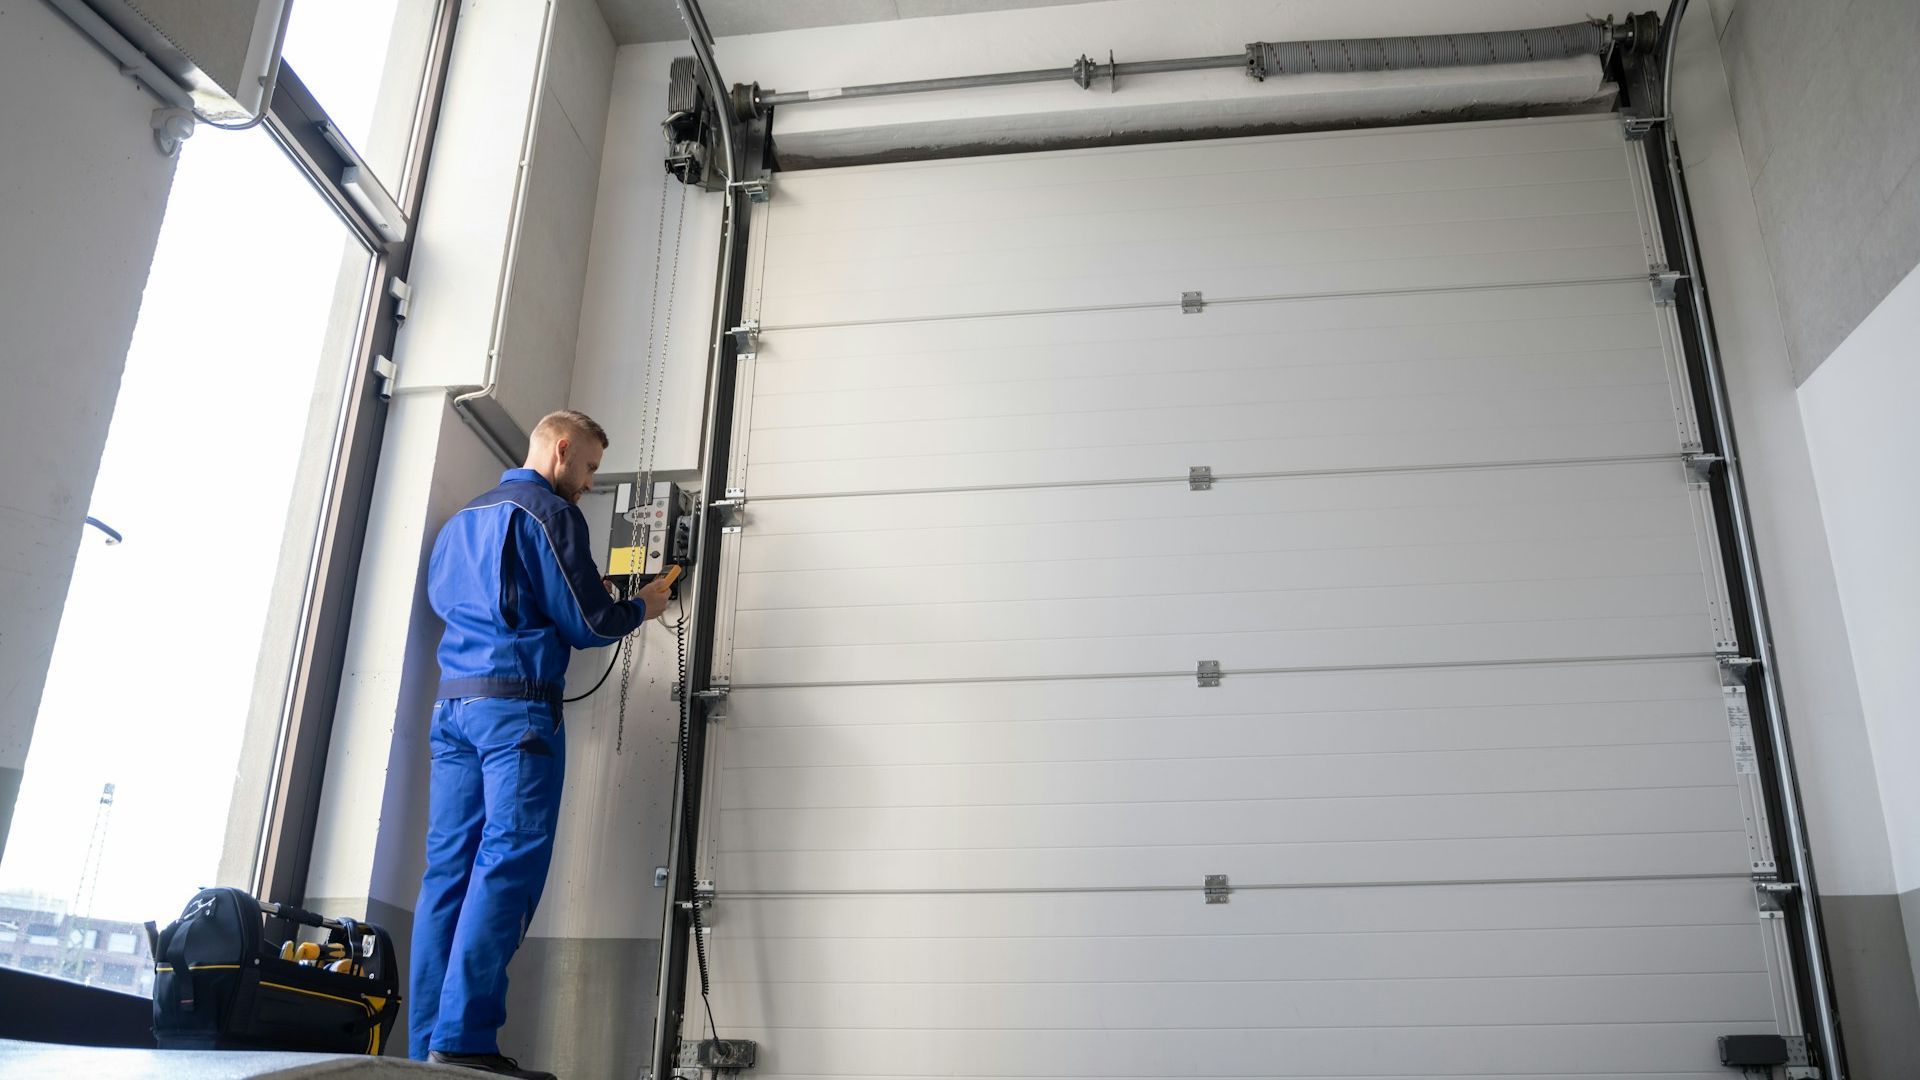
A garage door opener and installation add instant convenience to your home. You don’t have to get out of your car to open or close the garage door. This is especially helpful when it’s raining, cold, or late at night. You simply connect the opener to the ceiling of your garage, wire safety sensors, and set up controls.
As such, it makes sense to upgrade if you’re still lifting the garage door by hand or if your current opener is old, noisy, or unreliable.
Choosing the right opener for your garage
There are three main types of openers to choose from: chain drive, belt drive, and screw drive. Each one works differently and suits different needs. Chain drive openers are the most common and most affordable. They use a metal chain to lift and lower the garage door. They’re strong and reliable, making them a good choice for heavier or older doors. However, they tend to be the noisiest, which is a problem if your garage is attached to your home or below a bedroom.
Similarly, belt drive openers use a rubber belt instead of a chain. This makes them the quietest of the options. Additionally, belt drive openers require less maintenance over time. The downside is that belt drive openers are usually more expensive than chain models.
On the other hand, screw drive openers use a threaded metal rod to move the trolley that lifts the door. This means that it has fewer moving parts, leading to less maintenance. Screw drive openers work well in moderate climates and offer a good balance between noise and speed. However, they’re not ideal for very cold or hot areas, as temperature changes can affect their performance.
Once you’ve chosen a drive type, you need to think about power and smart features.
Garage door openers typically come in ⅓ horsepower (HP), ½ HP, and ¾ HP models. A standard single garage door made of lightweight material like steel or fiberglass only needs ⅓ HP. If you have a double garage door or a carriage-style door, it’s recommended to use a ½ HP model. However, for heavier doors, like a wooden or insulated one, you’ll want a ¾ HP.
Modern garage door openers also come with smart features, such as Wi-Fi connectivity that allows you to control the opener from your phone, no matter where you are, and a battery backup that keeps the opener working during power outages. Some models even have motion-sensing lights, built-in cameras, or compatibility with voice assistants like Alexa or Google Assistant.
What you need before getting started
You’ll need a flathead screwdriver, power drill, hex screws, lag bolts, impact driver or screw gun, ladder, level, open-ended adjustable wrench, and tape measure. Next, take a few minutes to read the manufacturer’s instructions that come with your garage door opener. Every model is slightly different, and following the exact steps given by the maker can prevent mistakes or damage.
Remember that garage door openers involve both electrical parts and heavy moving components. So, move your car out of the garage, unplug the unit before working on electrical connections, and never try to force parts into place.
How to install a garage door opener
If you have a modern sectional garage door that opens and closes smoothly by hand and is compatible with openers, you’re ready to move on to the installation.
Step 1 – Unpack and assemble the opener
Unpack the box and lay out all the components on a clean, flat surface. This makes it easier to identify each part and check it against the instruction manual. Next, follow the manual to assemble the rail and attach it to the motor unit.
Step 2 – Mount the opener and rail
Locate the exact center of your garage door. This is important for balance and smooth operation. Once marked, mount the header bracket above the door using lag bolts. Then lift the assembled rail and motor unit and attach the front of the rail to the bracket. Suspend the motor unit from the ceiling joists using hanging straps or angle iron, ensuring it's level and properly aligned with the door.
Step 3 – Attach the door components
Attach the trolley to the rail, then connect the straight and curved door arms to the trolley and the bracket on your garage door. Make sure the arm connections are secure and follow the correct angle from the manual. If your system uses a chain or belt drive, install and tighten it, checking for the proper tension to avoid slack or strain.
Step 4 – Wire the system
Plug the opener into a power outlet or hardwire it if required. Then, install the safety sensors on each side of the garage door, about six inches off the ground. Make sure they’re perfectly aligned. Next, install the wall-mounted control panel near the door leading into the garage. Run the wires along the wall and ceiling using clips or staples to keep everything tidy.
Step 5 – Test and adjust the opener
After the installation, test and adjust the opener to ensure it operates smoothly and safely. Set the travel limits so the door opens and closes fully without hitting the ground too hard or stopping short. Then, adjust the force settings so the opener doesn't strain while lifting or closing the door.
Finally, test the auto-reverse feature by placing an object like a block of wood in the door’s path. The door should stop and reverse immediately upon contact. Make any necessary adjustments until everything operates safely and smoothly.
Common installation issues and how to fix them
Even with careful planning and attention to detail, your garage door opener installation might run into some problems. Here’s what to look out for and how to fix it.
- Jerky or uneven movement: If your garage door jerks, hesitates, or stops mid-movement, chances are the rail isn’t level or properly aligned with the door. Double-check that the rail is straight and centered over the door. Use a level and adjust the mounting brackets if needed. Lubricate the roller, track, and hinges if the problem persists.
- Safety sensor problems: If the door closes partway and then reverses, or refuses to close at all, the sensors might be out of alignment or blocked. Make sure nothing is in the path of the sensors and that they face each other directly. Also, check the wiring for any loose or pinched connections.
- Opener powers on, but the door doesn’t move: If you hear the motor running but the door isn’t going anywhere, the trolley may not be connected to the opener arm. This usually happens if the emergency release cord was pulled and not re-engaged. Slide the trolley back into place and reconnect it to the opener carriage. Also, make sure the chain or belt is tensioned correctly, and not too loose or too tight.
- Excessive noise or vibration during operation: If your new opener is making more noise than expected, check for loose bolts, rattling brackets, or a wobbly motor. Tighten all hardware and add rubber padding between the motor unit and ceiling mounts if needed. If it’s a chain drive, apply a small amount of garage door lubricant to reduce noise and wear.
Understanding the cost to install a garage door opener
If you choose DIY, expect to spend between $150 and $700 for the opener and all necessary materials. You can save on labor, but you’ll need the right tools, enough time, and a basic understanding of mechanical and electrical connections. On the other hand, professional garage door opener installation cost ranges from $300 to $1,100. Labor alone ranges from $100 to $400, depending on your region and the complexity of the job.
The exact installation cost depends on the brand and model of the opener, the horsepower rating, whether you need new wiring or outlet installation, and any upgrades like keypad entry or smart-home integration. Even your garage ceiling height can influence the price, as taller ceilings may require an extension kit.
Overall, paying for expert help is worth it if your garage door size is hefty, includes complex features, or if you’re uncomfortable working with electrical connections or power tools. A professional can save time, ensure everything is installed correctly, tuned for safety, and covered by a service warranty.
Maintenance tips after installation
Use these simple maintenance tips to keep your door opener working smoothly.
- Lubricate moving parts every 6 months with a silicone-based spray or garage door lubricant.
- Inspect and tighten brackets, mounting straps, and rail fasteners every few months.
- Wipe dust and spider webs off the lenses with a soft cloth and align the safety sensors so they’re facing each other.
- Listen for grinding, squeaking, or rattling noises, as these may indicate parts that need lubrication or adjustment.
- Don’t hang items from the opener or track, and never try to force the door open or closed. If the door feels heavy, have the springs checked.
- Keep the remote and wall panel batteries fresh.
Final thoughts on installing a garage door opener
A well-installed garage door opener adds a layer of daily convenience and strengthens your home security. To keep it running safely, be sure to follow the safety practices outlined earlier in this article.
If you decide to hire a professional for the installation, start by looking for an installer who is licensed, bonded, and insured. Then, make sure you get a written contract that clearly outlines the terms and includes a warranty for added peace of mind.
Book a top-rated cleaner in 3 easy steps


Top-rated cleaners
Pick from a big range of cleaners. All are certified, background-checked, and ready for you to browse.

Affordable rates
Cleaners on Homeaglow are competing for your business. They offer sharper prices than you'll find anywhere else.

Easy, online booking
Easily rebook the same great cleaner, or try another. Homeaglow gives you direct contact with your cleaner.
Reclaim your time and give yourself the clean home you’ll love

